The Toxic Frameable Template is just so perfect for making a Halloween project to decorate your home, but it is so much more than just an 8 1/2 by 11 frameable template! You also get all the items that make up the template, like the cute Halloween graphics, webs, bats, spider, and more. You also get the sort of distressed over lay that makes up the background, which you can change to any color to fit your needs as it comes as a stamp. I was recently asked if the template could be re sized as is to make something like a card and the answer is yes you can!! Just open the templates by going to the 8 1/2 by 11 portrait templates. Once you have the project open, click the edit button, then re size, and choose your new size. I made mine into a postcard front size 3 1/2 by 5. Now sometimes when you re size things they are not perfect, and in this case, the background was off. There was about a half an inch that was blank. But no fear! You can fix that.

See, this picture shows the problem.

If you right click on the page, you will get this box that says "unlock page object". while your cursor is on the background stamp at the bottom, click the unlock and you will be able to move the background stamp to fit your page. The toxic orange background is actually two layers so you need to unlock the first one, move it slightly so you can then unlock the second layer. Then move them where you want them and you are done!
Another maybe easier way to do this is to just open up the template and then click the "project" button at the top tool bar, then click "share" and "export pages". Save the picture somewhere, I have a folder for MDS projects. Then close the page and open a new blank page. On your blank page make a photo box in the size you wanted. I chose to make a photo box 3 3/4 by 5 inches. Then I import the template from my folder, just as I would import a picture. I made 4 photo boxes on my page, and that way I can make 4 cards with one print out.
Then I printed them out on my paper, I printed onto Very Vanilla. I cut them apart and adhered them to a layer of Pumpkin Pie card stock cut at 4 by 5 1/4. I stuck a basic black glimmer brad in the corner, then adhered to a Basic Black card base.
I recently used the toxic elements to make a price card for the craft fair I was in recently.
And I used it for a title on a scrapbook page.
A great thing about digital downloads is you don't have to wait for delivery!! Download the toxic frameable today!
Thanks for stopping by!


 Put the three bodies together and you have a batman suited owl. Next use the oval punch and the bat punch to make the belt buckle.
  The tree is from "Spooky bingo bits", the bats are from "Wicked Fun". Wicket Fun is on sale until November 5th! You get great Halloween papers and some really fun stamps for just $4.96, normally $9.95. Check out this digital kit, and many others that are 50% off. Sale ends November 5th!


.jpg)


.jpg)
.jpg)


 Download includes:
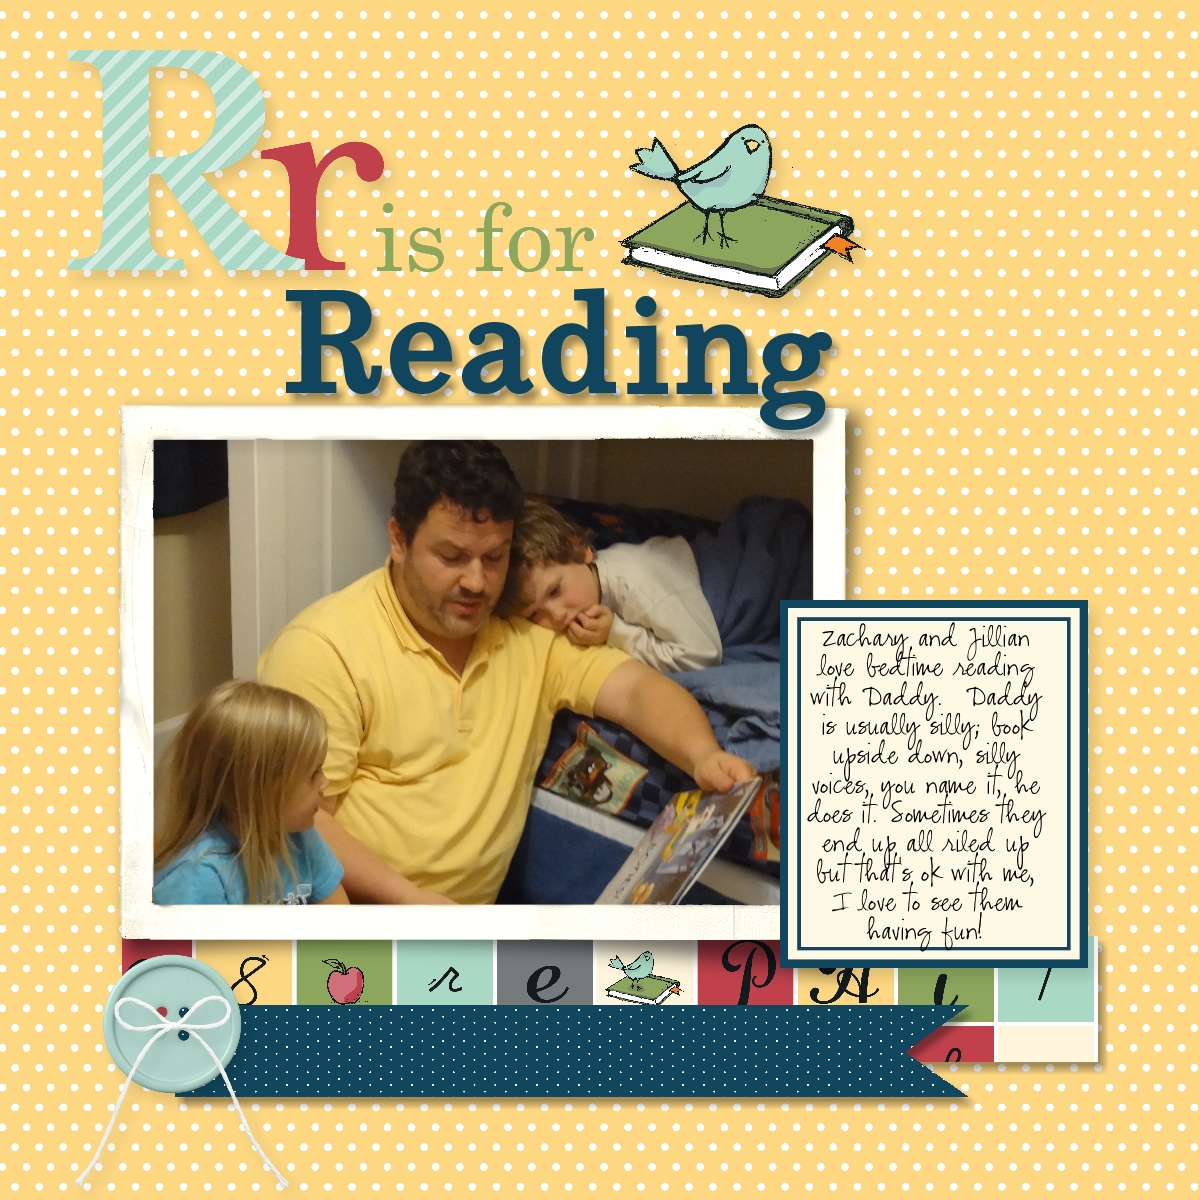


.jpg)
.jpg)


.jpg)


.jpg)
.jpg)